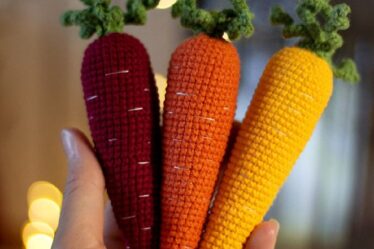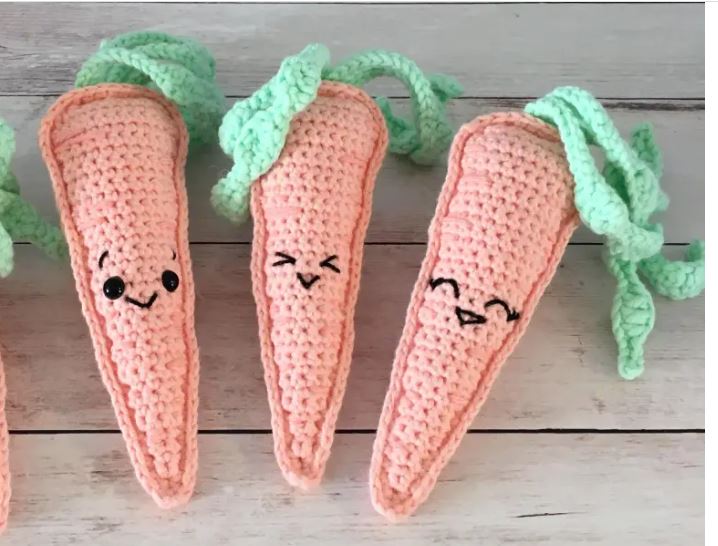
Hello friends, as today’s starter model, I will share with you how to make this sweet and cute carrot model.
- Materials:
- 3.25mm hook
- Loops & Threads Capri in Apricot for carrot panels (I used less than 100g for 4 carrots);
- Loops & Threads Capri in Mint for leaves (less than 50g for 4 carrots);
- Bernat Handicrafter in Coral Rose for accents (small amounts);
- Safety eyes (I used both 6mm and 8mm);
- Black crochet thread for mouth (and eyes if you wish);
- Tapestry needle;
- Stuffing.
Stitches and Special Terms
Ch – Chain
Slst – Slip stitch
Sc – Single crochet
Dc – Double crochet
Inc – Increase. Work 2 sc in the same st.
Dec – Decrease. Work a regular sc decrease.
Body Panels:
The panels are worked from the bottom up. Ch 1 and turn at the end of each row.
Row 1: Ch 2, sc 1 (1 st)
Row 2: [Sc 3] into the same st (3 sts)
Rows 3-5: Sc across (3 sts)
Row 6: Inc, sc 1, inc (5 sts)
Rows 7-9: Sc across (5 sts)
Row 10: Inc, sc 3, inc (7 sts)
Rows 11-15: Sc across (7 sts)
Row 16: Inc, sc 5, inc (9 sts)
Rows 17-22: Sc across (9 sts)
Row 23: Inc, sc 7, inc (11 sts)
Rows 24-29: Sc across (11 sts)
Row 30: Inc, sc 9, inc (13 sts)
Rows 31-32: Sc across (13 sts)
Row 33: Dec, sc 9, dec (11 sts)
Row 34: Dec, sc 7, dec (9 sts)
Row 35: Dec, sc 5, dec (7 sts)
Tie off.
Repeat all of the above for the second panel.
Leaves:
For the leafy part, I crocheted three different sized stalks for some variety. I used 2 small ones, a medium one and a large one on each carrot. Feel free to mix and match the size of your leaves for the look you want! I think using all medium or all large would also look great for a more uniform look.
Small Leaves:
Row 1: Ch 25, [slst 3, dc 3], repeat [ ] once more, slst 12 (24 sts)
Tie off.
Medium Leaves:
Row 1: Ch 30, [slst 3, dc 3], repeat [ ] twice more, slst 11 (29 sts)
Tie off.
Large Leaves:
Row 1: Ch 35, [slst 3, dc 3], repeat [ ] twice more, slst 16 (34 sts)
Tie off.
Move on to assembly below!
Assembly:
Step 1: Face and Accents
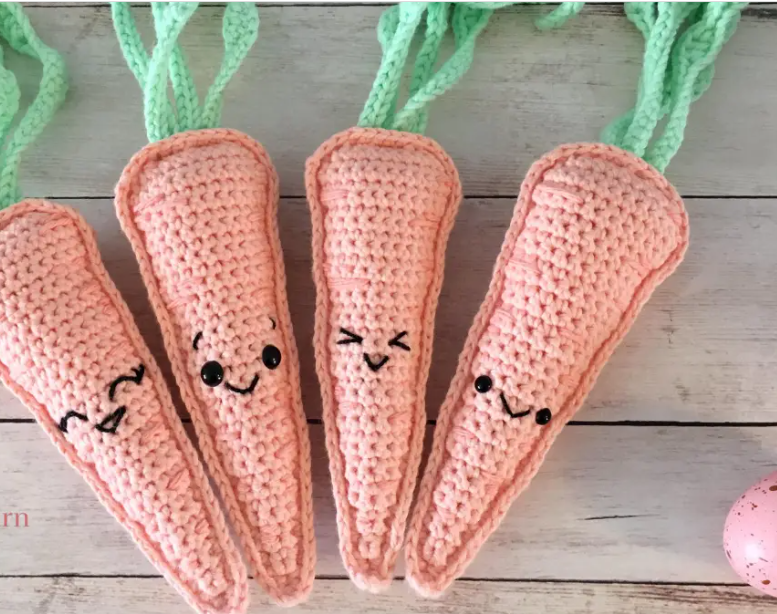
The first thing we will do is add our facial features to the front panel. I did a few different types of faces, but they are all placed around rows 17 to 20 of the panel (counting up from the bottom). Feel free to stitch on eyes or use safety eyes (I used 6mm safety eyes on one carrot and 8mm on another), or stitch on other details like eyebrows or cheeks; whatever you’re feeling!
Next, we will add the accents to give the carrot a little character! I used a slightly darker yarn than the Apricot (in this case, Bernat Handicrafter in Coral Rose) to create little lines along the panel of the carrot. It’s a little hard to see in the photos, but it gives the carrots a little bit of a more realistic look. I think a lighter coloured yarn would work great as well; use whatever you have in your stash! Orange, black, white; I haven’t tried it myself but I think any of these colours would give the desired effect.
All I did was cut a length of yarn about 30cm/12″ long and used my tapestry needle to make different lengths of horizontal stitches on each side of the carrot panel. Start at the top on the right, work your way down the panel and then work up the opposite side. Group some short and long stitches together. I didn’t use any sort of pattern for this, I just eye-balled it, which worked out great because each carrot looks a little different and is unique!
Step 2: Body and Leaves
Here are the pieces you will now have:
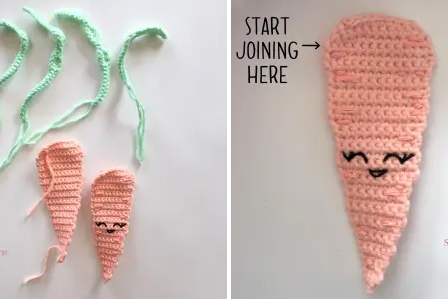
Cut off a length of Apricot yarn about 30cm/12″ long and set aside for later.
Place the two panels together, matching up all sides (i.e. make sure the starting chain yarn tails are pointing in the same direction).
You will start on the left side at the top. Begin attaching the panels together by chaining one and single crocheting around the outside of the panels.
[Sc, ch 2, sc] into the tip (pointy end) of the carrot.
Continue crocheting around. Begin stuffing after every few stitches. Stop when you get to the top so that just the top of the carrot is open. Continue to stuff firmly.
With your tapestry needle and the length of yarn that you set aside earlier, place the leafy stalks between the panels in the centre of the top of the carrot and attach each stalk by sewing through all three pieces; the top panel, the stalk, and the bottom panel. Keep going across all stalks. When finished, tie a knot to secure and hide the yarn tails between the panels of the body.
Continue crocheting across the top, topping up stuffing as you go. When you get to the stalks, crochet in the stitches of the front panel only, since this section is already sewn shut.
When you’re satisfied with the stuffing, continue crocheting around and close with a slst to first st. Tie off. With your tapestry needle, poke the yarn tail back inside the piece.
That’s it!