Hello, my other model is the sweet little bunny pattern, you will definitely love its sweetness and let’s see how it is done with your children..
Supplies you`ll need:
- Yarn: 5 colors of DK / 8 ply weight cotton (Rico desing ricorumi DK: 25 g / 57.5 m) – beige, green, pink, brown, white
- Crochet hook 2.5 mm
- Stitch marker
- Polyester fiberfill
- Safety eyes 6 mm
- Thread for the nose
- Darning and embroidery needle
- Pompom maker 35 mm
Finished size: 15 cm / 6 in
Skill level: easy+
Stitches needed (US crochet terms):
Slip stitch (sl st), chain (ch), single crochet (sc), spike single crochet (SPsc), French knot
Abbreviations:
Repeat (rep), stitch(es) – st(s)
About the pattern:
- Work in continuous rounds. Do not join or turn unless otherwise instructed.
- Use a stitch marker and place it in the first stitch of the round to mark the beginning of it.
- Leave each piece a long tail for sewing.
BODY
Crocheted from top to bottom.
1: Beige. Start 6 sc in a magic ring [6]
2: Work 2 sc in each st around [12]
3: (Sc in next st, 2 sc in next st) rep 6 times [18]
4: (Sc in next 2 sts, 2 sc in next st) rep 6 times [24]
5: (Sc in next 3 sts, 2 sc in next st) rep 6 times [30]
6: Sc in each st around
7: (Sc in next 4 sts, 2 sc in next st) rep 6 times [36]
8-12: Sc in each st around
13: (Sc in next 5 sts, 2 sc in next st) rep 6 times [42]
14-17: Sc in each st around
Fasten the safety eyes between rounds 7 and 8, with an interspace of 5 stitches. Close the washers on the inside of the piece.
18: (Sc in next 6 sts, 2 sc in next st) rep 6 times [48]
19-20: Sc in each st around
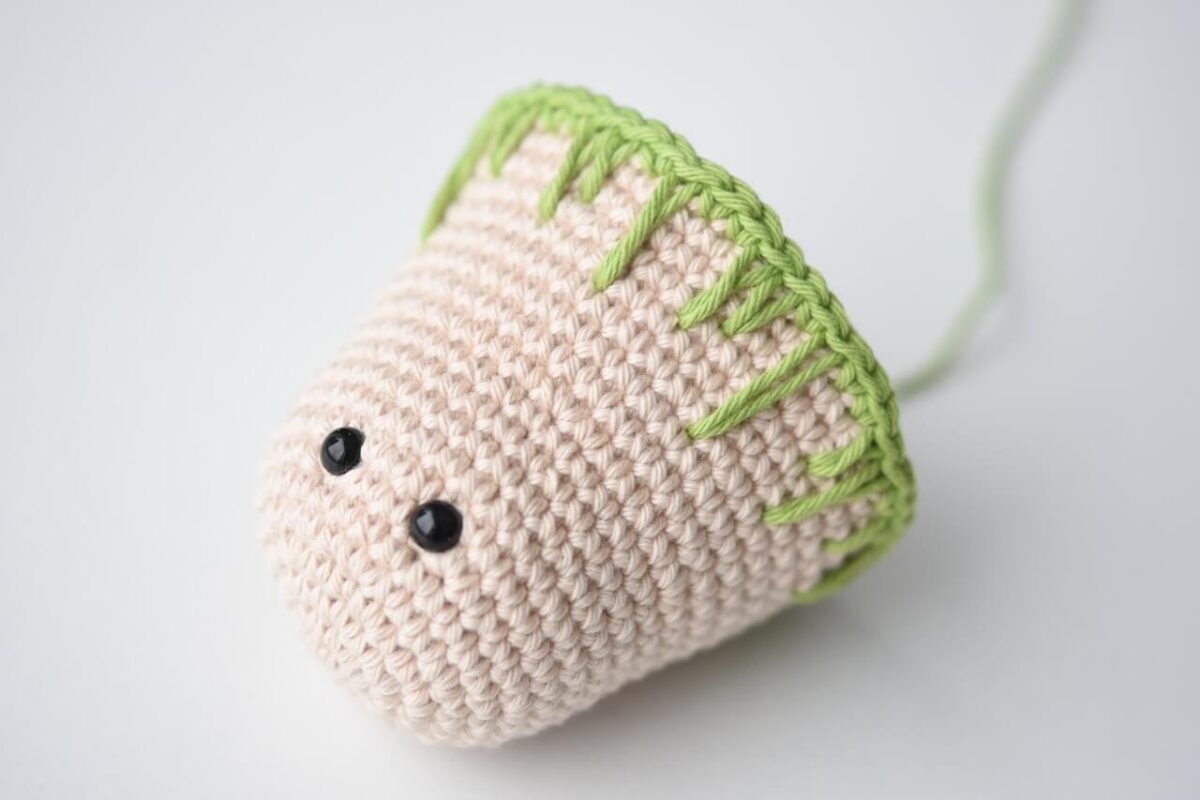
21: Green. Sc in next st, SPsc-3, sc in next st, SPsc-2, SPsc-4, sc in next st, SPsc-3, sc in next st, SPsc-5, sc in next 2 sts, SPsc-2, SPsc-3, sc in next st, SPsc-2, sc in next st, SPsc-4, SPsc-2, sc in next 2 sts, SPsc-5, sc in next st, SPsc-2, SPsc-3, sc in next 2 sts, SPsc-4, sc in next st, SPsc-2, SPsc-3, sc in next 2 sts, SPsc-2, sc in next st, SPsc-5, sc in next st, SPsc-2, sc in next 2 sts, SPsc-4, sc in next st, SPsc-2, sc in next st, SPsc-5, sc in next st, SPsc-2, SPsc-3, sc in next st [48]
CHECK THE STITCH COUNT AT THE END OF THIS AS WELL AS THE NEXT ROUND!
22: SPsc-1, sc in next st, SPsc-1, sc in next 2 sts, (SPsc-1, sc in next st) rep 2 times, SPsc-1 in next 2 sts, sc in next 2 sts, SPsc-1, (sc in next st, SPsc-1, sc in next 2 sts, SPsc-1 in next 2 sts) rep 3 times, (sc in next st, SPsc-1) rep 2 times, sc in next st, SPsc-1 in next 2 sts, (sc in next st, SPsc-1) rep 3 times, sc in next 2 sts, SPsc-1 [48]
23-24: Sc in each st around
25: (Sc in each of next 6 sts, sc2tog) rep 6 times [42]
26: (Sc in each of next 5 sts, sc2tog) rep 6 times [36]
Fill about half of the piece with fiberfill. Add stuffing as the work progresses.
27: (Sc in each of next 4 sts, sc2tog) rep 6 times [30]
28: (Sc in each of next 3 sts, sc2tog) rep 6 times [24]
29: (Sc in each of next 2 sts, sc2tog) rep 6 times [18]
30: Sc2tog around [9]
To close the body, weave the yarn through the front loops of all 9 sts and pull tightly.
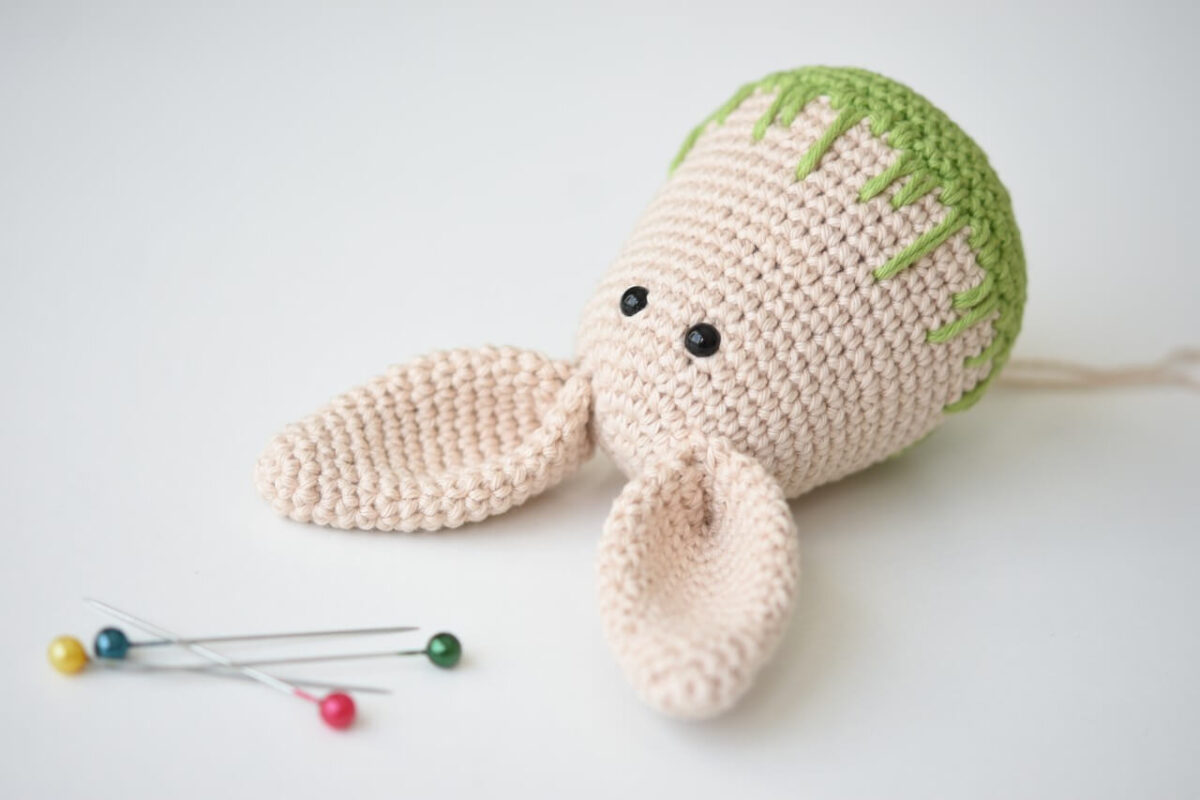
EAR (make 2)
1: Beige. Start 6 sc in a magic ring [6]
2: (Sc in next st, 2 sc in next st) rep 3 times [9]
3: Sc in each st around
4: (Sc in each of next 2 sts, 2 sc in next st) rep 3 times [12]
5: Sc in each st around
6: (Sc in each of next 3 sts, 2 sc in next st) rep 3 times [15]
7: Sc in each st around
8: (Sc in each of next 4 sts, 2 sc in next st) rep 3 times [18]
9: Sc in each st around
10: (Sc in each of next 5 sts, 2 sc in next st) rep 3 times [21]
11-16: Sc in each st around
17: (Sc in each of next 5 sts, sc2tog) rep 3 times [18]
Fold the ear and join it from the bottom. Make sure you grab all the layers when sewing. Sew the ears to the head.
EMBROIDERY
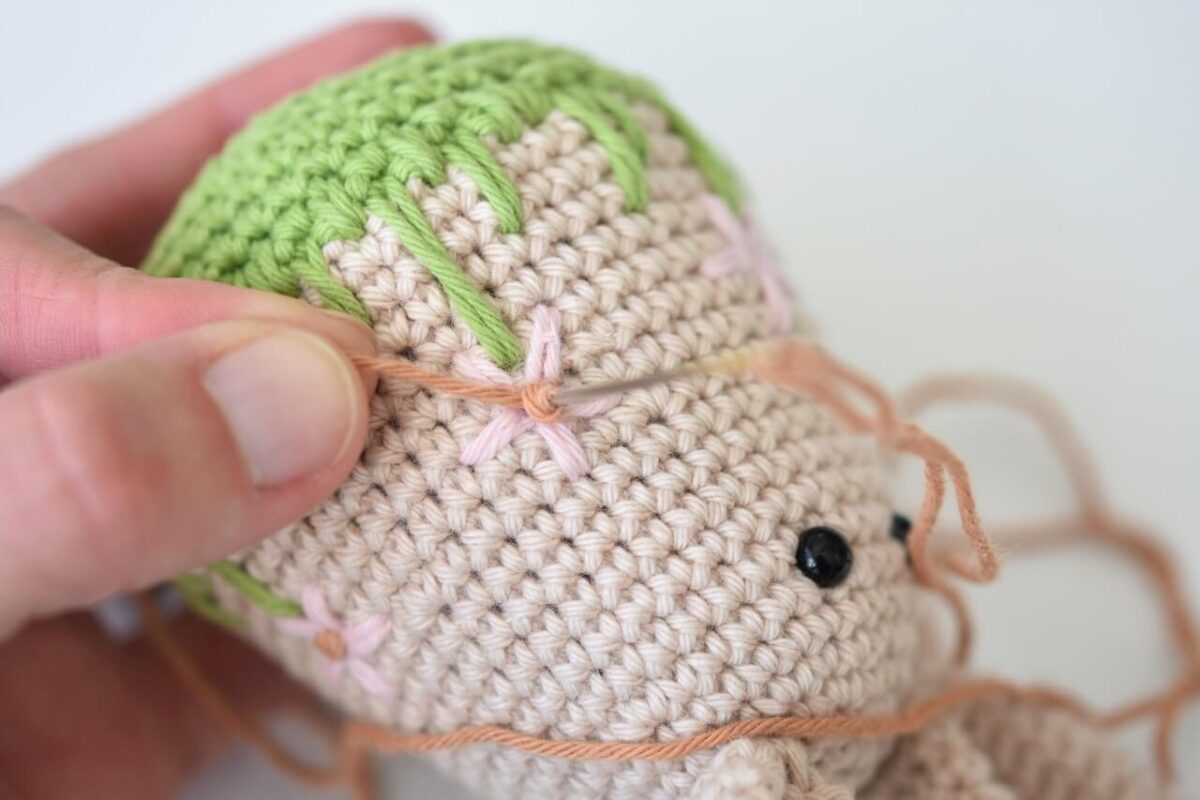
With pink yarn, embroider 5 or 6 flowers on the body, on top of the highest stalks. Start 1 round above the stalk. For each flower embroider 5 evenly spaced petals that consists of 2 stitches.
In the center of every flower embroider a French knot with brown.
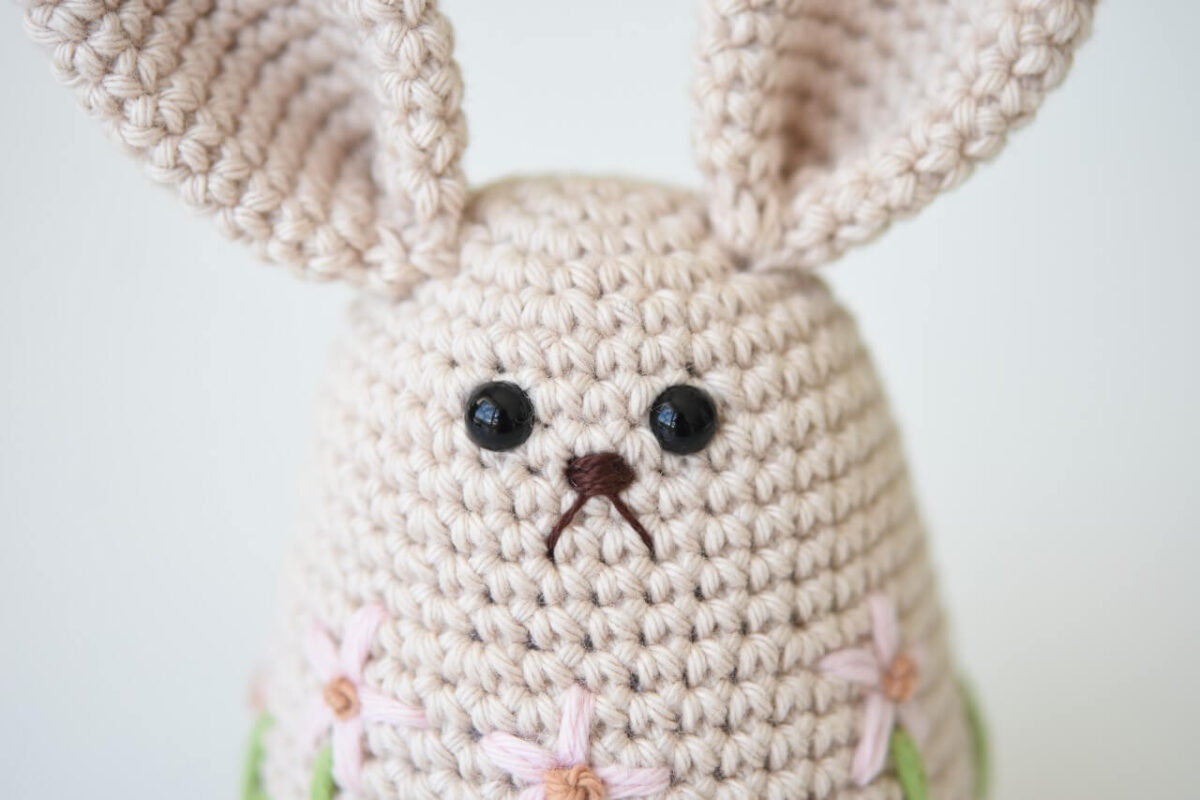
Also, embroider the bunny a nose.
TAIL
Use a small pompom maker to make a little white tail. Sew to the back of the body.