
Whether you want to make some for your own baby, have some on hand for baby shower gifts, or just feel like getting crafty, these really are fun and easy to make and don’t require any major craft skills. Here is how to do it!
Before You Make Your Wood and Bead Baby Teethers:
Treated my wooden beads, rings and shapes with some coconut oil. Not only does this help moisturize the wood and prevent cracks, but it also enriches the color a bit.
How to Make Ring Wood and Bead Baby Teethers
First, let me show you how to make the easier version: the ring wood and bead baby teethers! (All the teethers shown below were made using this exact method.)
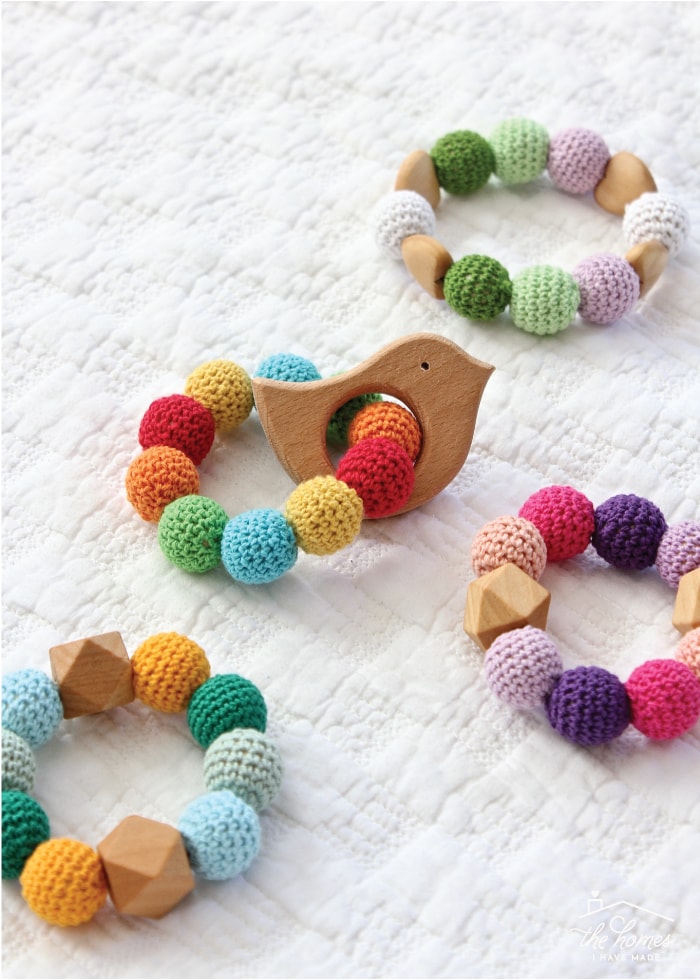
- Once you have settled on your design (again, I found 9-10 beads to be ideal), start by cutting a piece of string about 2-3 times the length of your finished design. Using the included needle and string, string the beads together, leaving plenty of excess string on both ends.
- Next, pull out your scout skills (if you have them!) and tie a square knot using the two ends of string. Make the knot as tight as possible in order to cinch the beads together.
- With your square knot tight and secure, use the needle to thread the remaining tails of string back through the ring of beads in the opposite direction. Once your ends meet again on the opposite side of the ring, tie another square knot (or two or three). Trim off the excess string as close to the knot as possible, and then try to move the knot into one of the beads so it isn’t exposed.
And that’s it!
Your teether is ready to hand over to baby!
